I’ve found that green wood I’ve added to the pile in spring at 30-40% moisture has dried out to a very burnable 15-18% within six months.
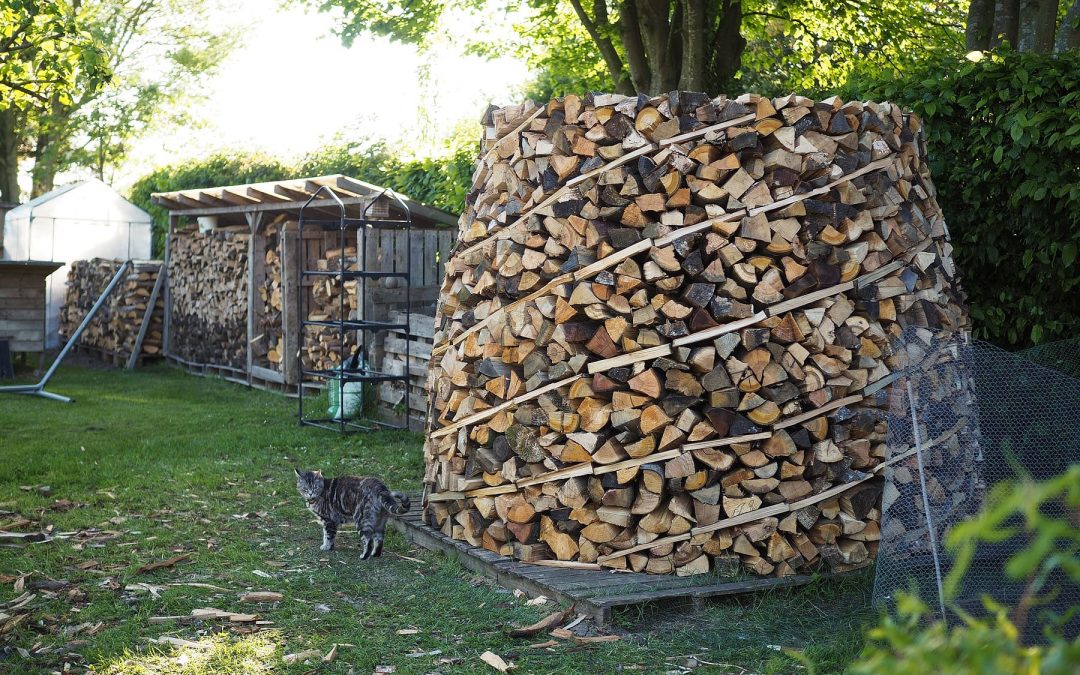
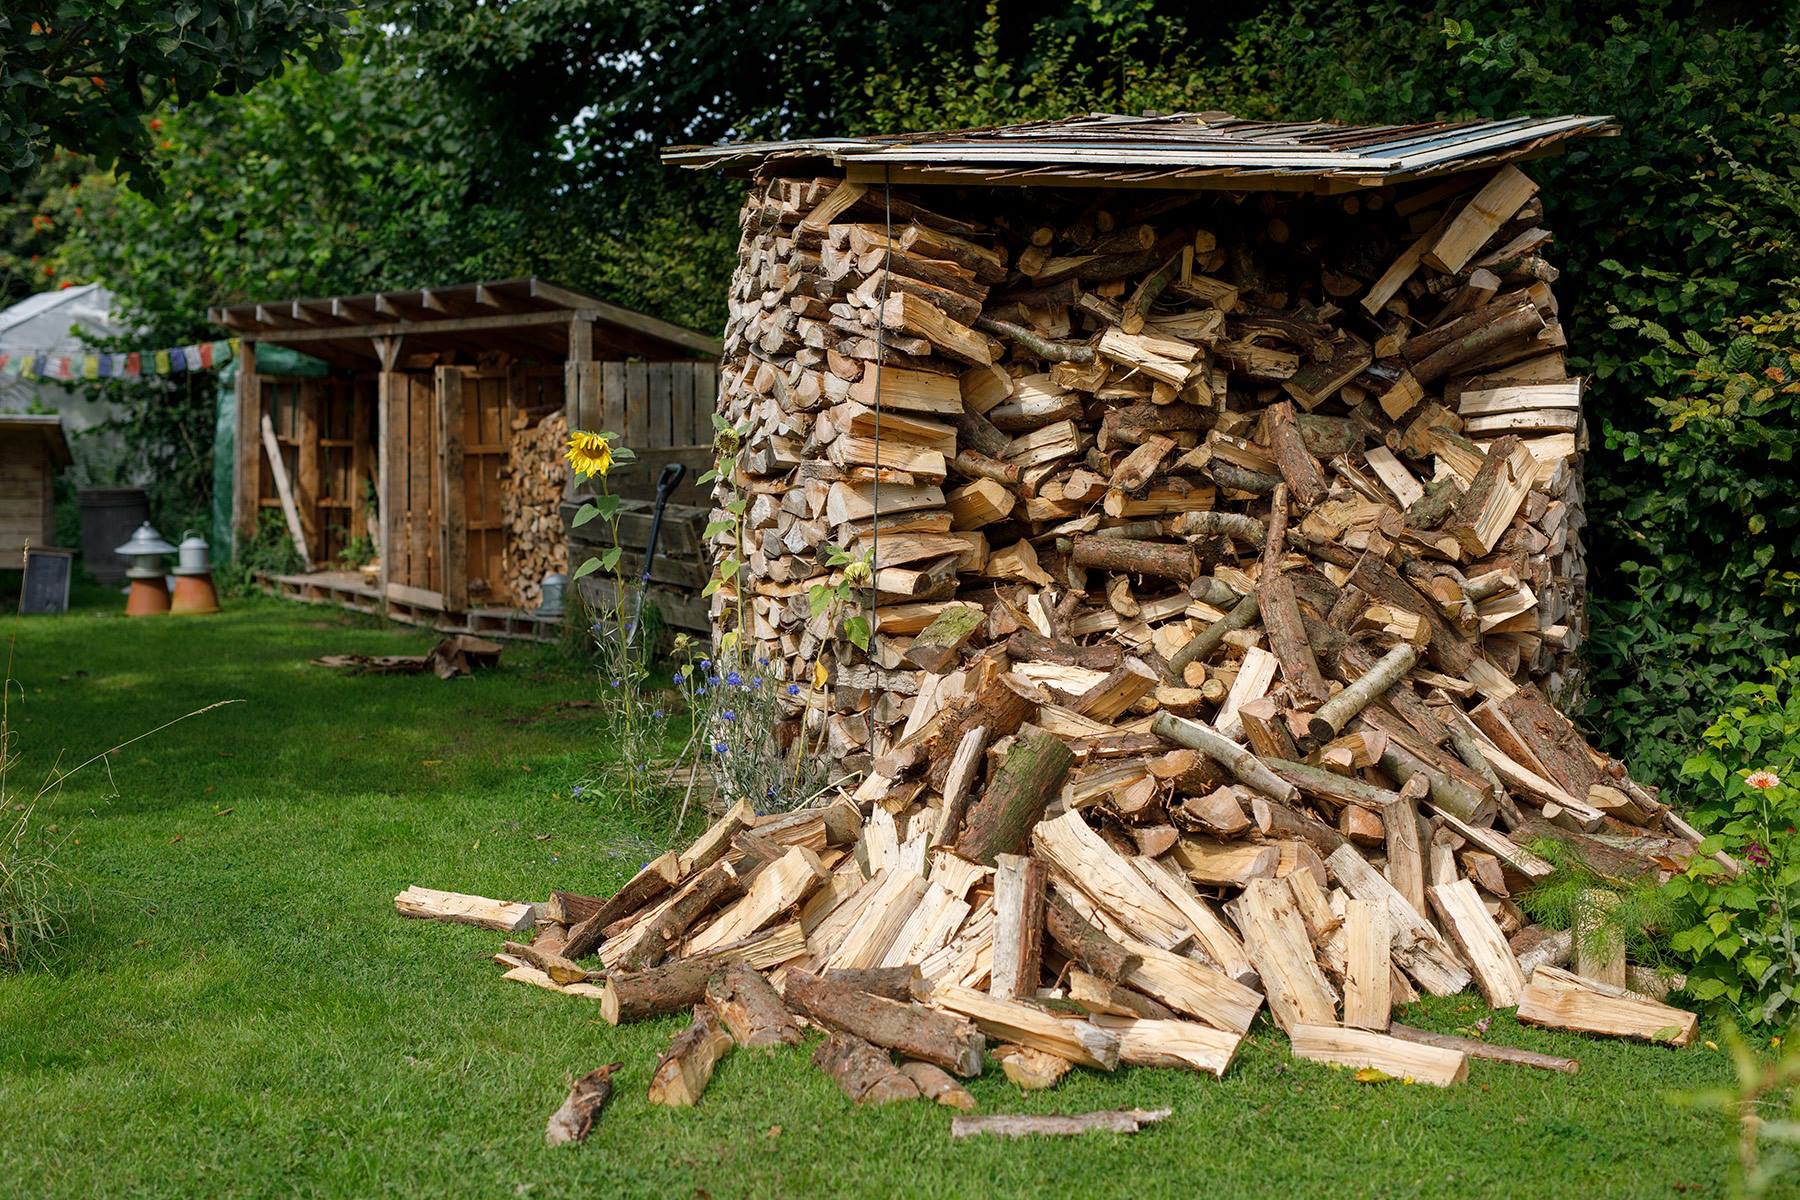
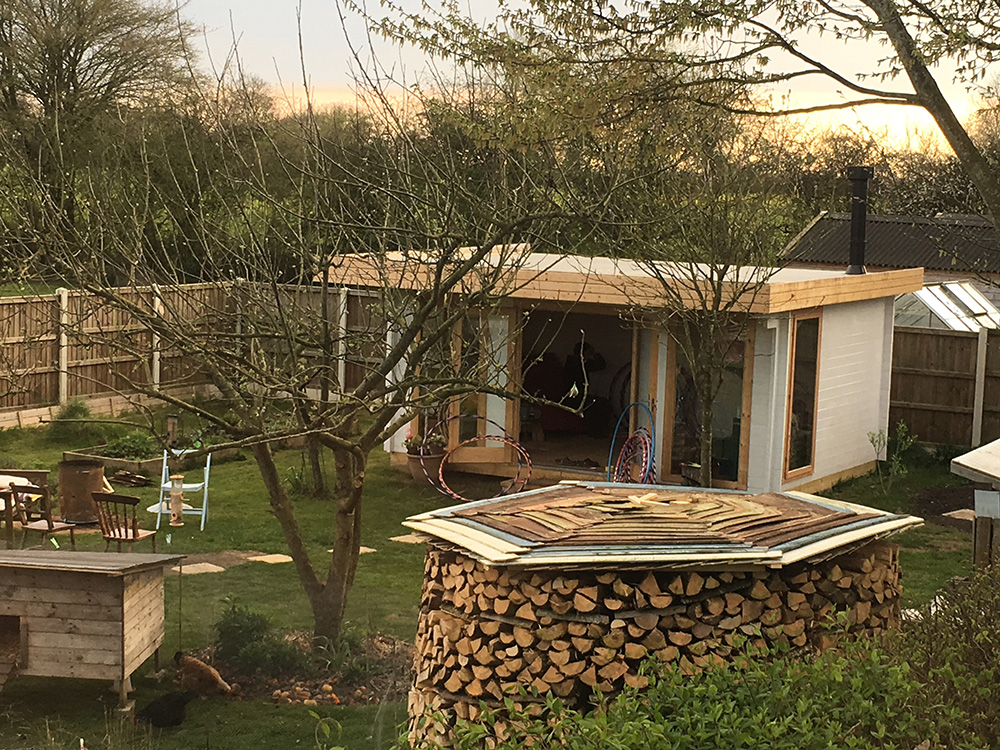
Also known as a holzhausen (German for wood house), this is the fifth year I’ve made one of these circular woodpiles and I’m sharing my technique to make a strong and stable pile.
Preparation
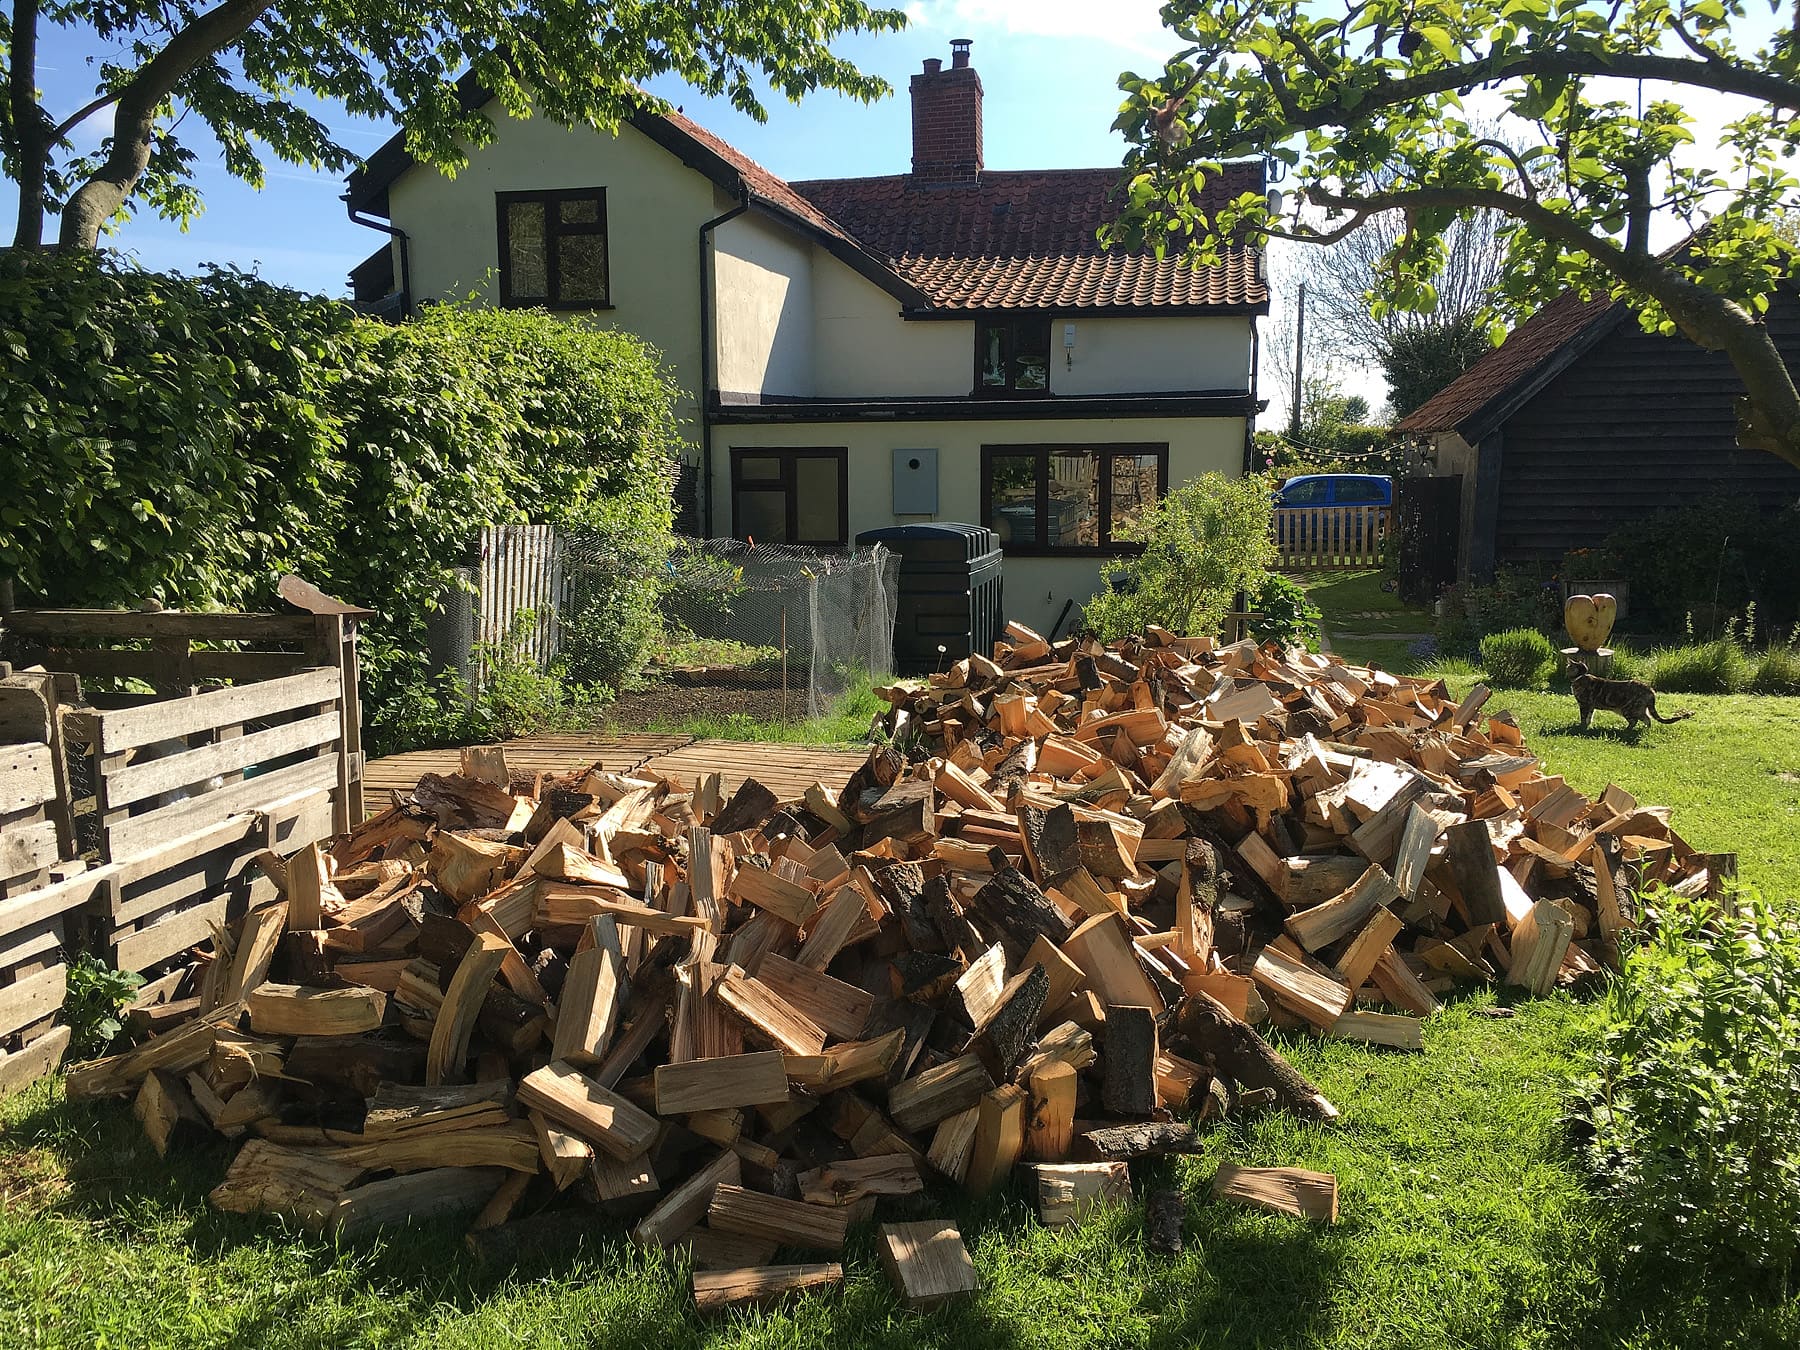
Obviously you’re going to need some wood. A lot of wood! You can build a smaller holzhausen than I have, but you can’t go too small in circumference – the smaller you go the more difficult it becomes to stack the logs easily in a ring. My wood pile is 7.5 feet (2.4m) in diameter and building up to approx 6 feet (2m) high means I have a couple of cords / 9 cubic metres of wood in it.
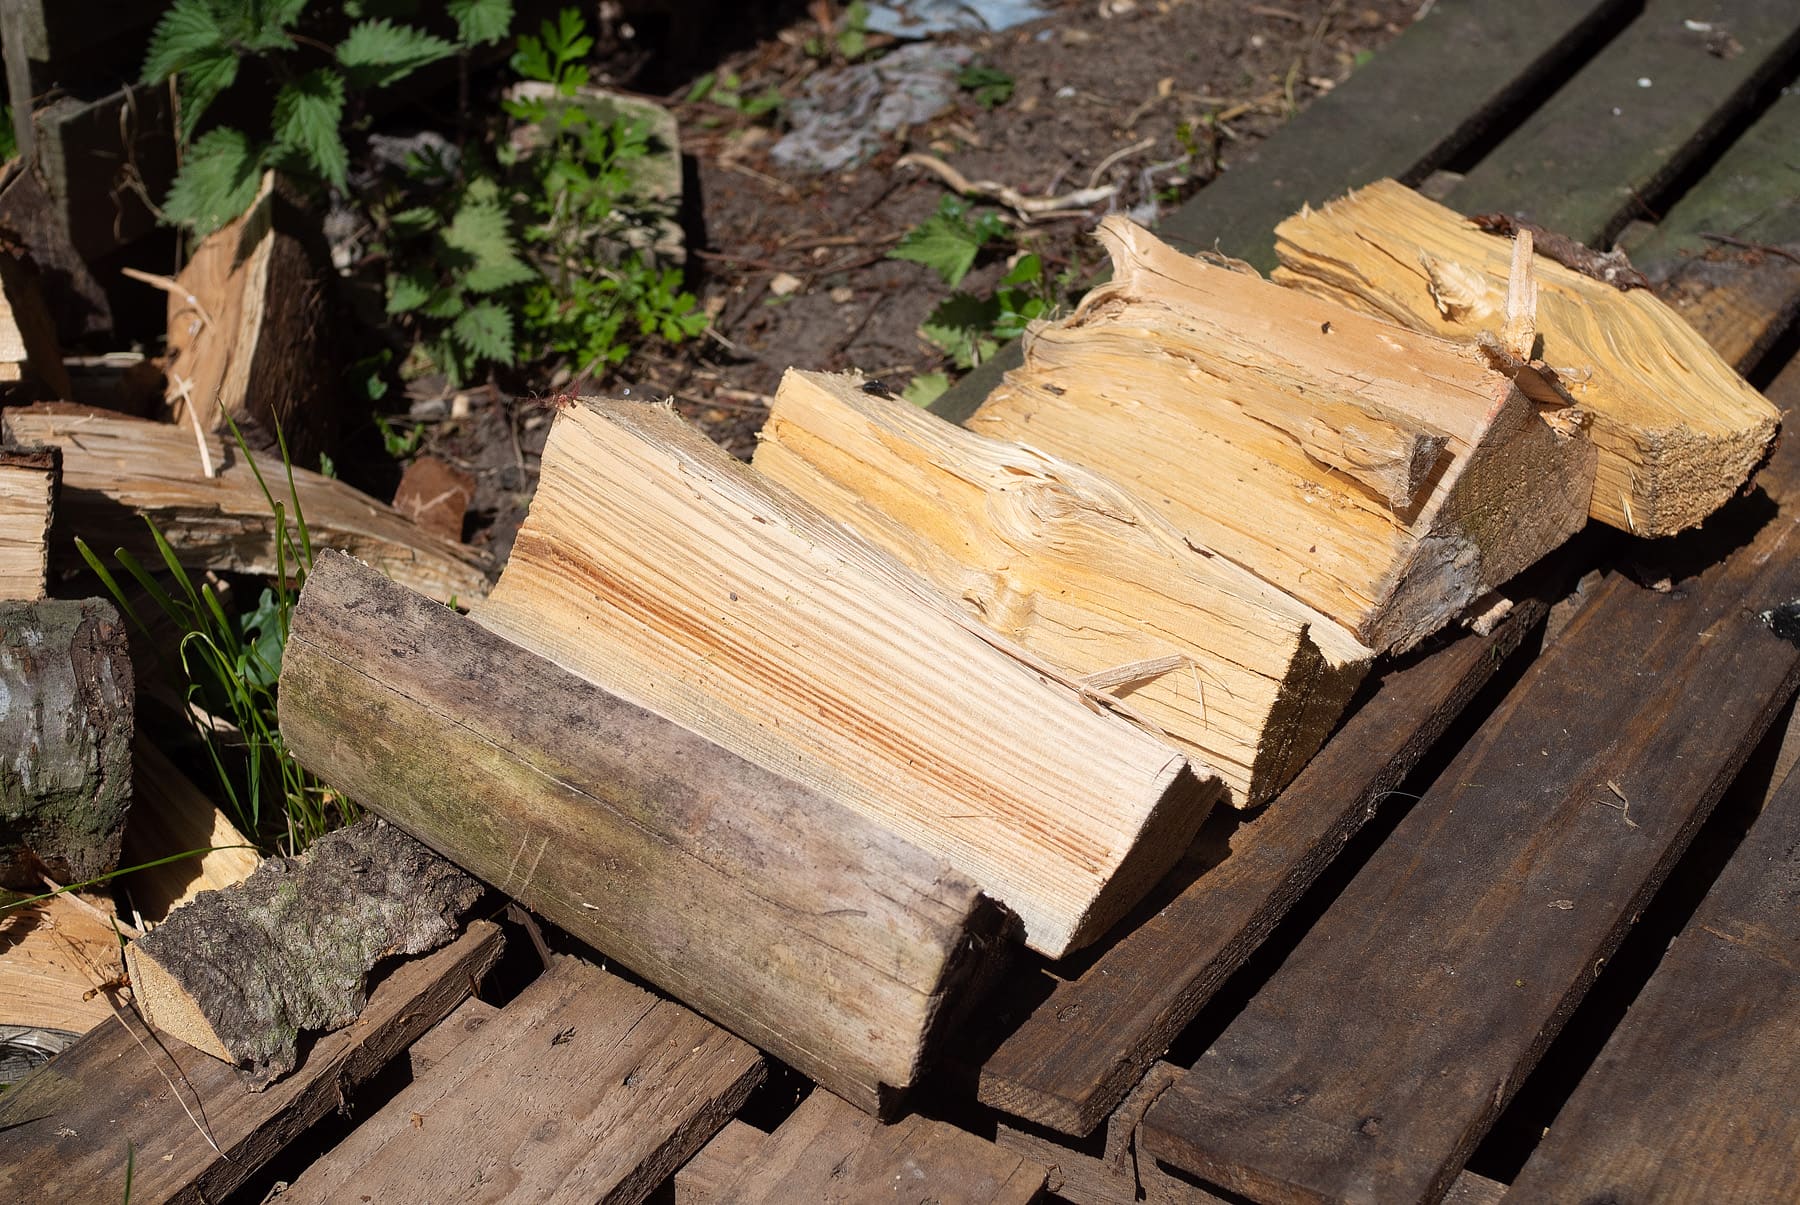
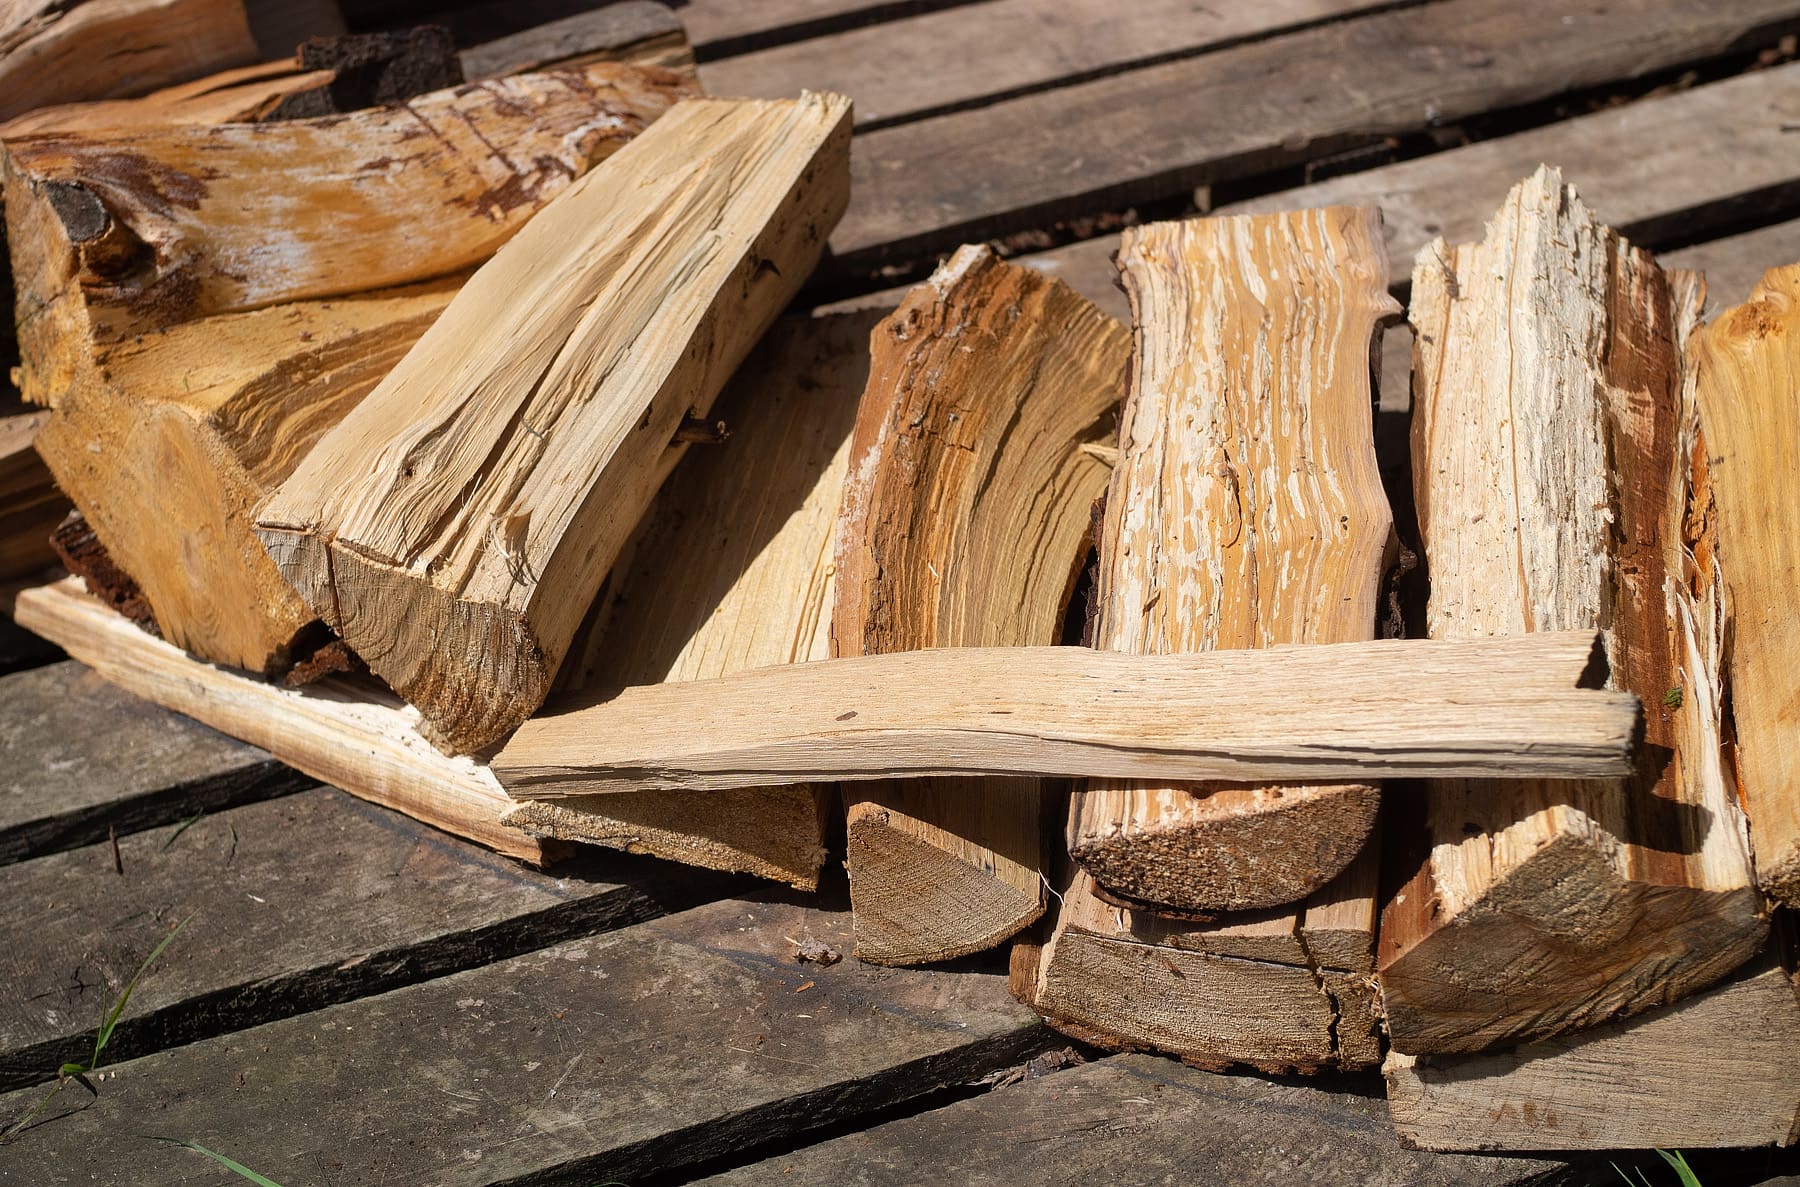
I collect wood throughout the year and cut and split the logs in spring. I usually split the logs to around a foot (30cm) in length which is ideal for my woodburner. I tend to split everything, even branches to give the wood the best chance of drying by winter. Bark is essentially waterproof so leaving a log in the round will mean that water can only exit the log by the ends. Split it all!
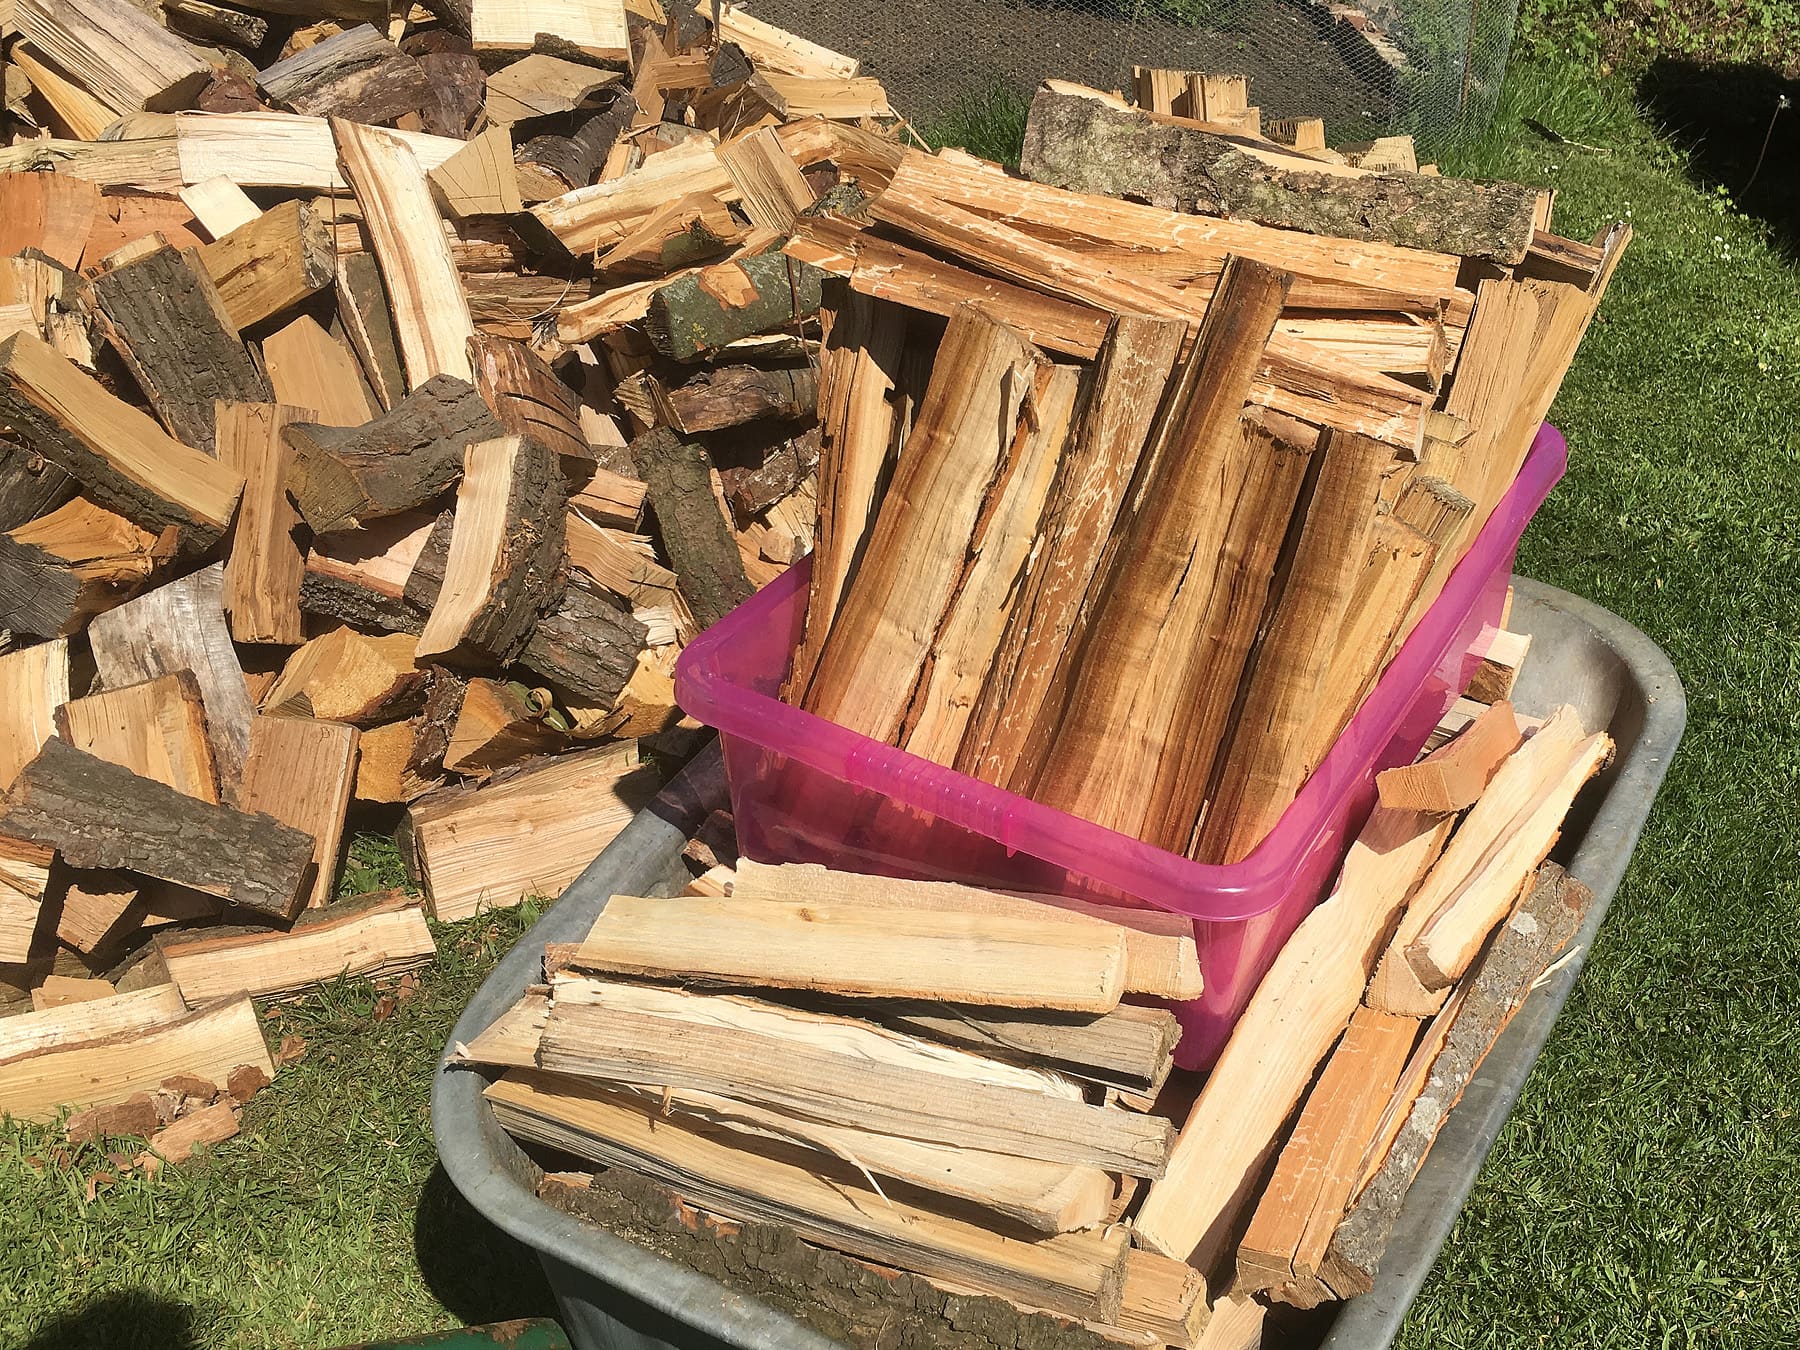
When splitting the logs, keep an eye out for logs that are happy to split into thin and straight lengths. These thin batons will come in handy later. Keep them to one side so that you don’t have to pick them out of the pile later.
While I split most of my logs to around a foot long it will also help you later if you have a few shorter logs as well.
Don’t worry if a split log ends up being twisted and gnarly – these can just be thrown in the middle of the pile.
The Base
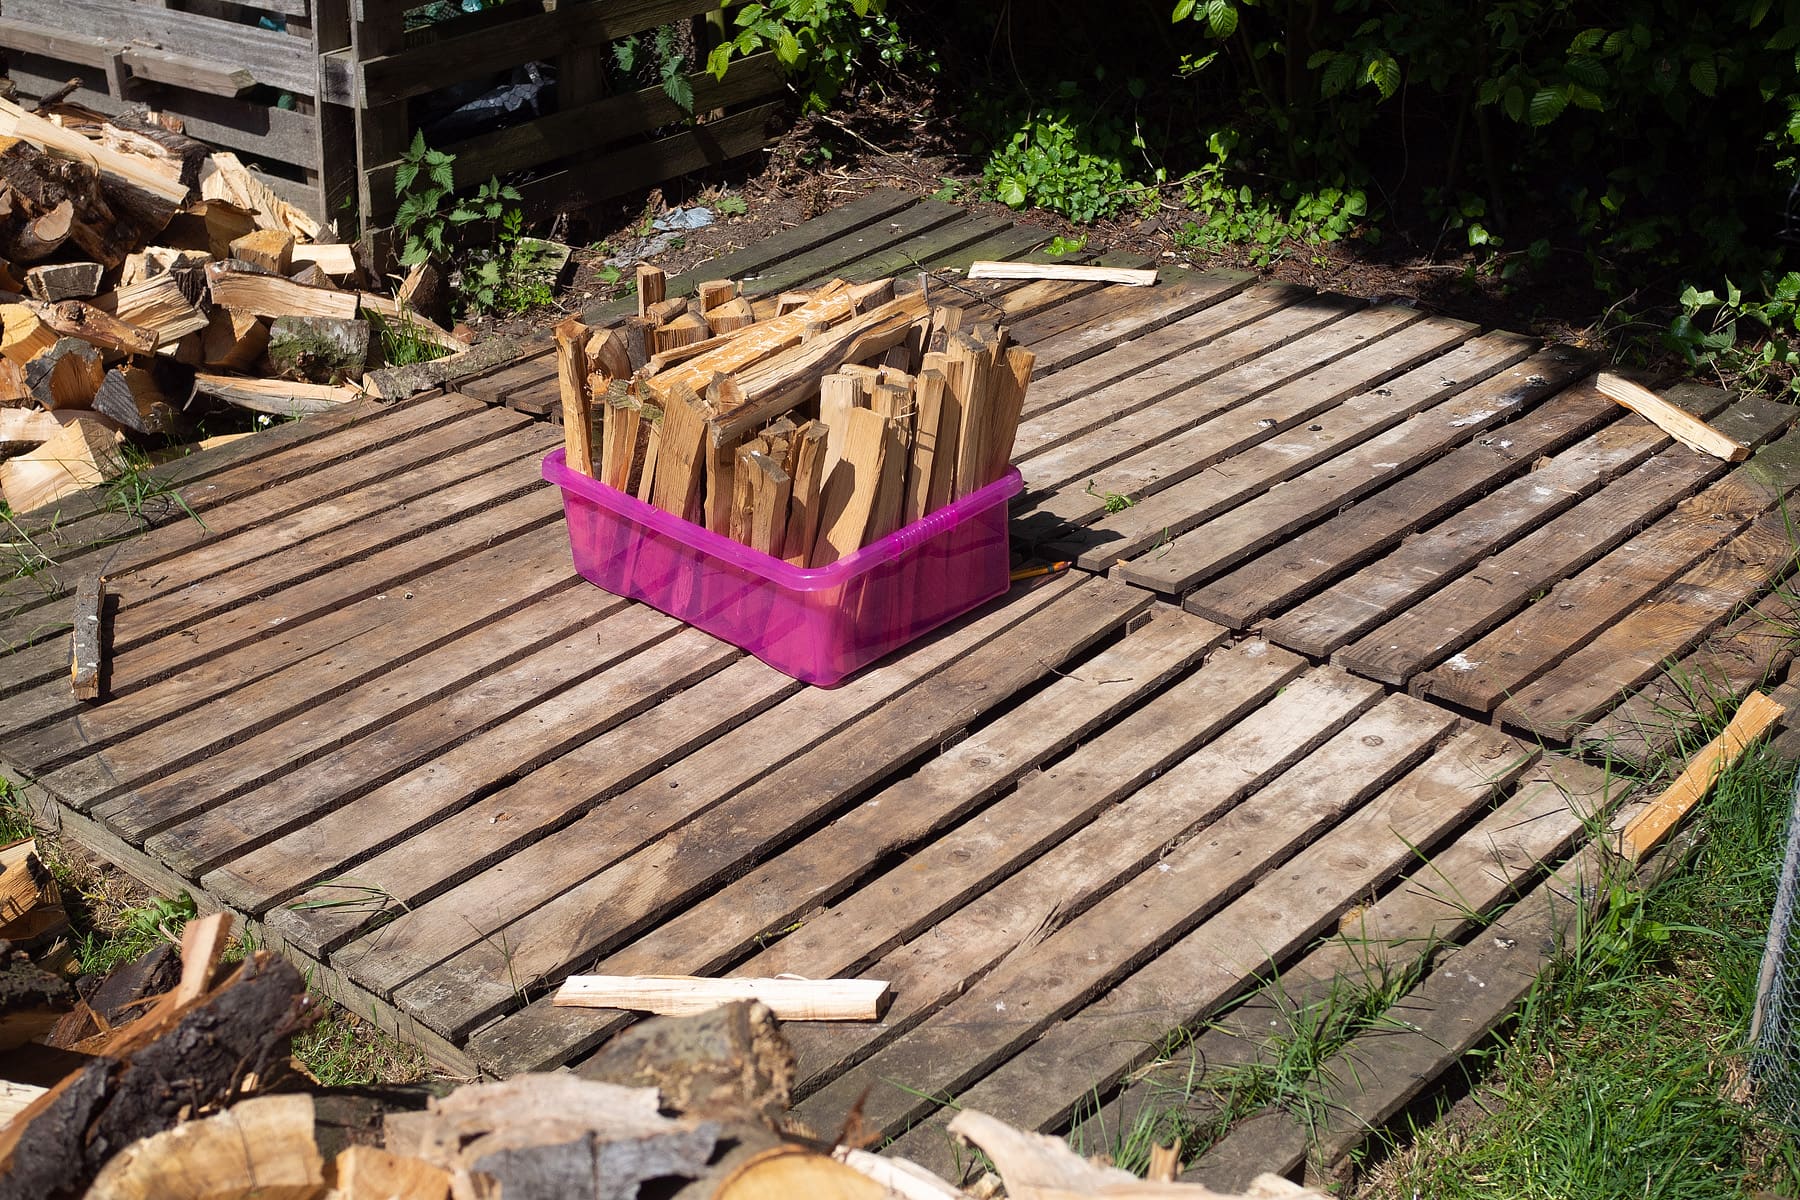
I use pallets as the base for my round woodpile – these keep the bottom of the woodpile away from the damp ground and their open structure allows air to pass underneath and through the pile right into the middle.
Six standard UK pallets 120x80cm makes a base 240cm square – you don’t have to use this size but it has worked well for me.
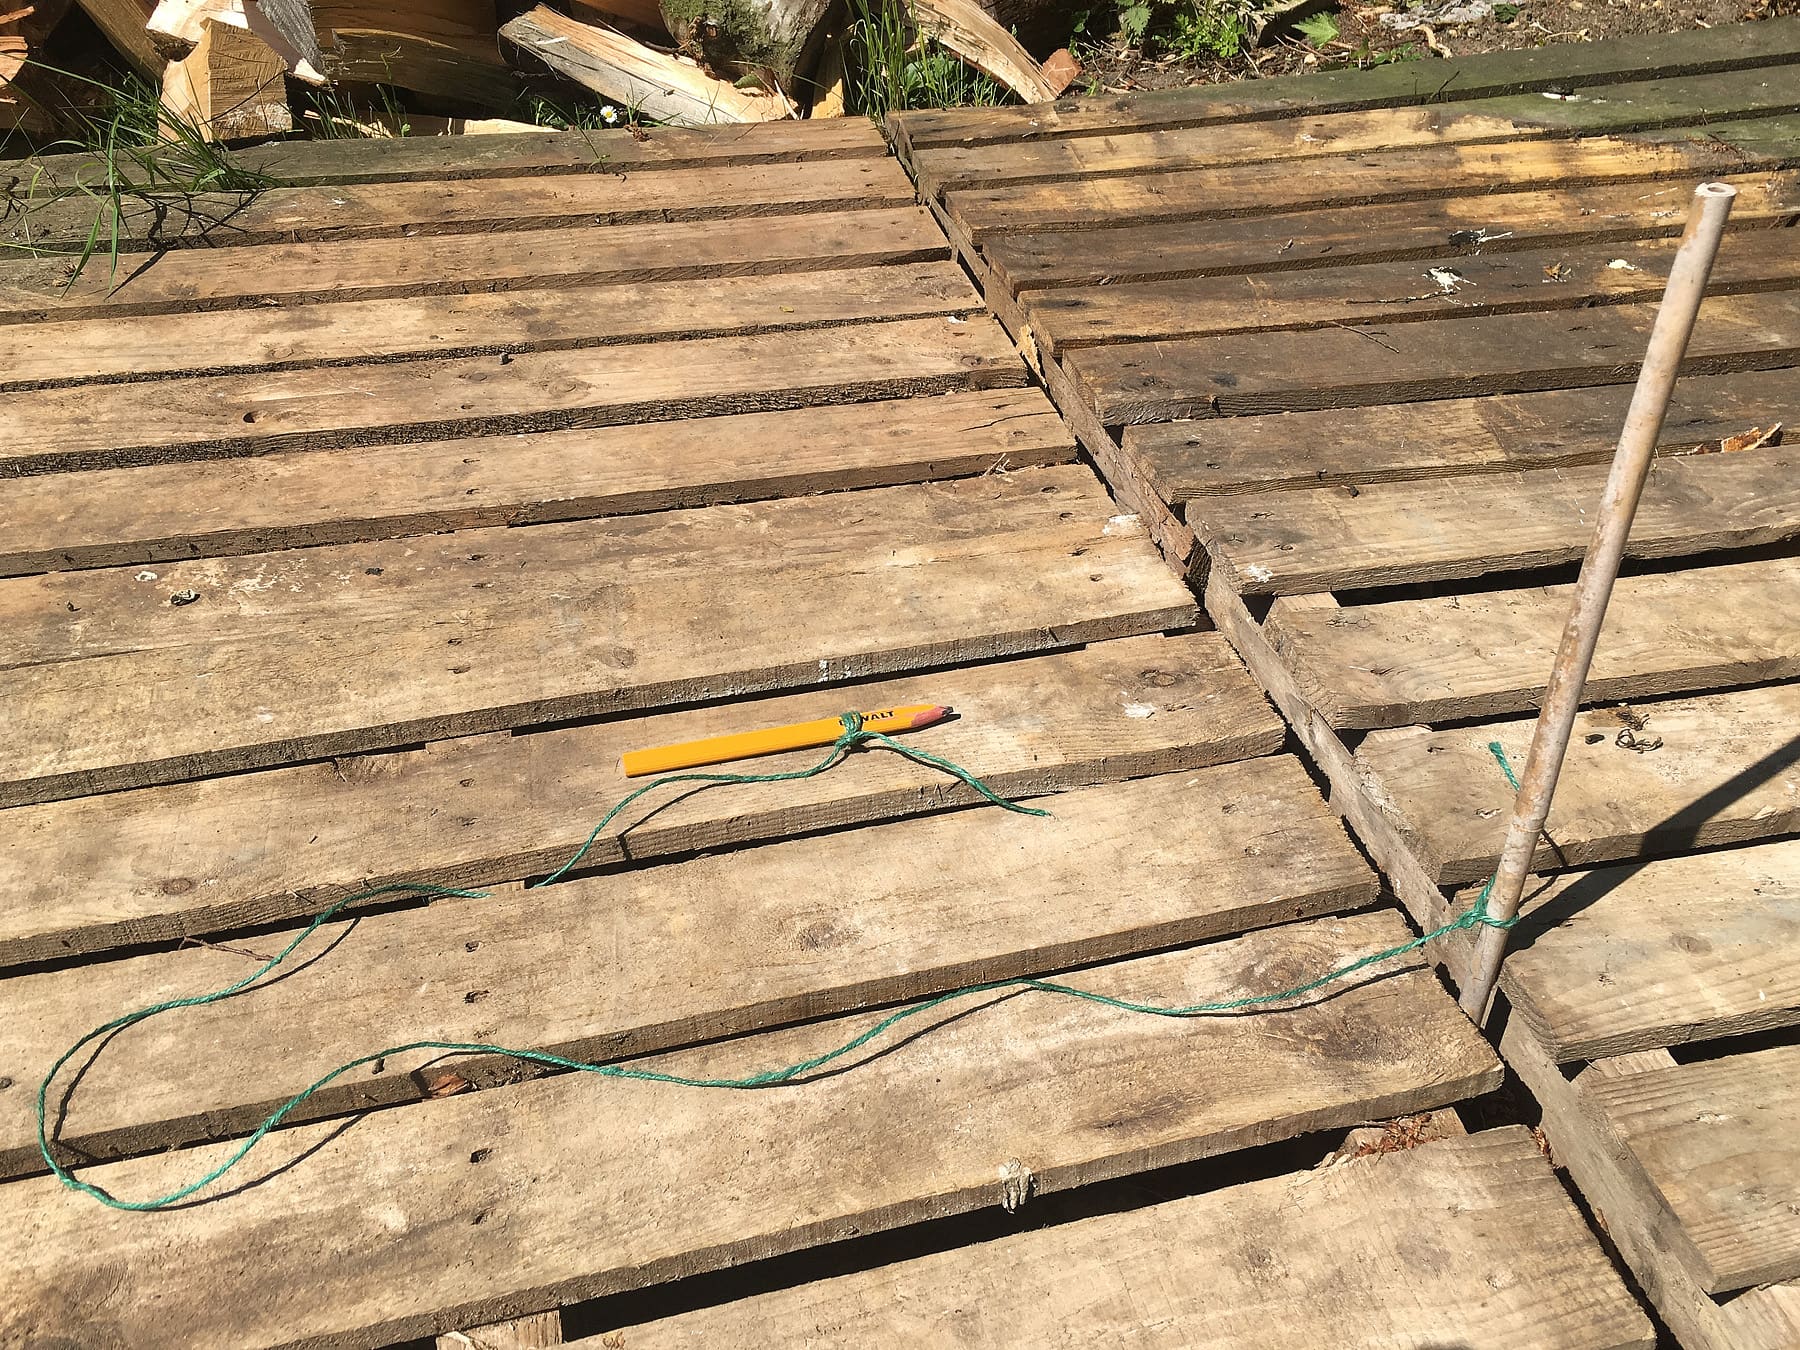
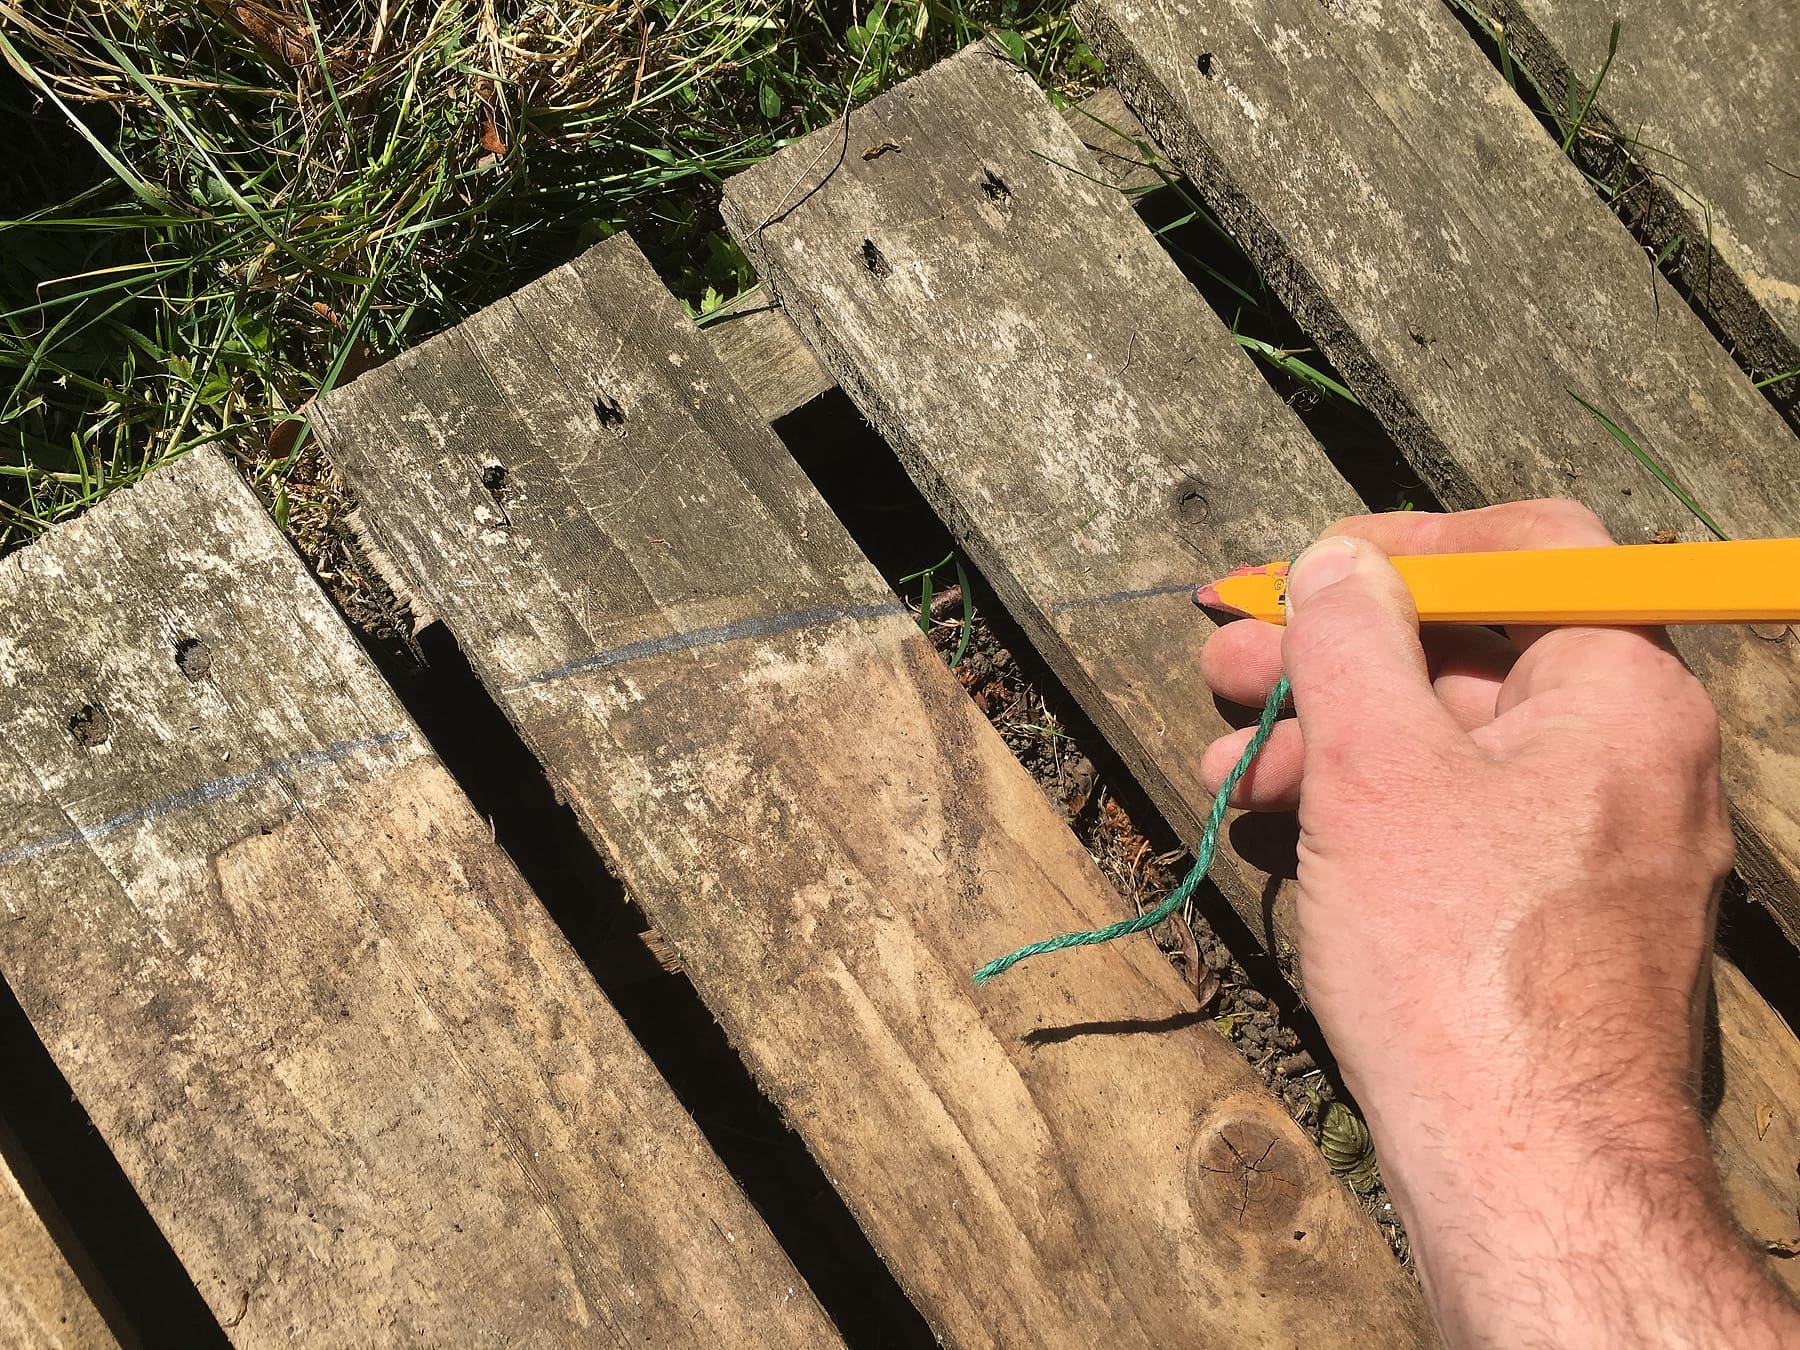
Lay down the pallets on a flat bit of ground and then hammer a stake into the ground in the middle of the base. I usually use a bamboo cane.
Tie some string to the stake and take it one of the sides of the base. Tie on a pencil and then trace around the base to draw a circle. This will be the outline of your woodpile.
The first layer
Take six of the thin batons you kept aside earlier and lay them equally spaced around the circle you made on the base. They should form a hexagon type shape when you have laid them out.
Starting at one of the batons you can begin building the wall with your logs. Place the first logs on top of the baton and then continue around the circle of the base. The logs should all point to the middle of the base.
I tend to build counter-clockwise but either direction is fine – just keep going the same way as you build up.
It’s a matter for debate but I build with the bark facing down, and the open side of the split log facing up. Does it help with drying? It works for me.
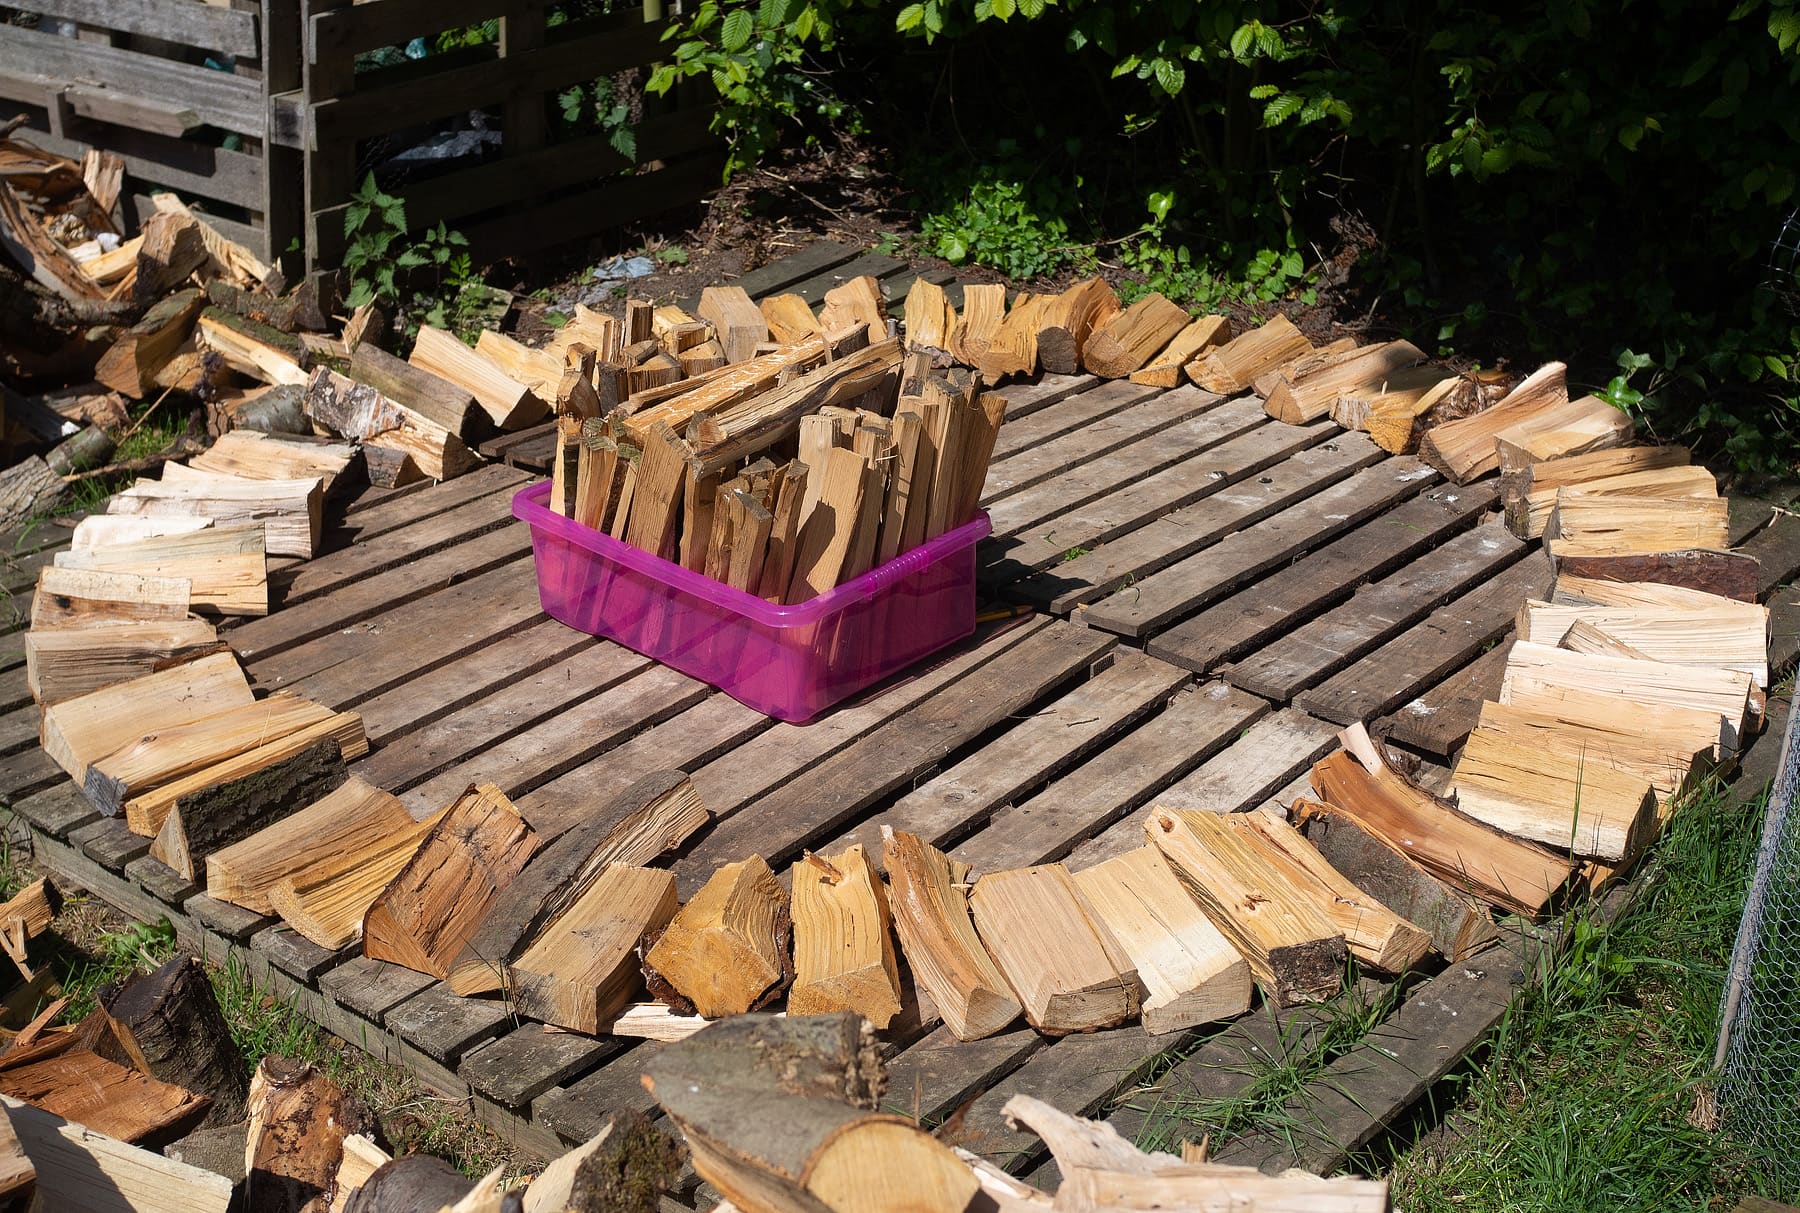
Once you’ve been round 360 degrees you’ll end up back at the first baton.
Whichever direction you have been stacking keep going that way. Place another baton next to and above the first one. Angle it up slightly by placing a suitably sized log under the far end.
Keep stacking round the pile. Each time you reach a baton place another above and next to it.
The batons serve two purposes – they look cool, but the main reason for them is to slightly tip the wood back into the pile. If you build with out them the wall can tend to bow out, but with them tipping the logs the walls ends up leaning in on itself increasing the stability of the pile.

As your wall gets higher look down on it from above and make sure it’s straight vertically. I tend to build my walls straight up for a couple of feet and then round them in more at the top.
Do not let any part of the wall hang over or bulge out above the wall below it. As the wood dries it shrinks, a wall that bulges out is probably going to fail and fall out. Learn from the mistake I made in a previous year!
Round and round, up and up. The process is essentially identical all the way up. Keep an eye on the straightness of your walls. Keep an eye on the angle of the batons so you end up a nice decorative effect. Don’t try to build in ‘sections’ – build round and round one layer of logs at a time.
When your wall is a couple of feet high you can start throwing your B grade logs in the middle. Try to keep the level inside about a foot below your current wall height. I just chuck mine in rather than try to stack them neatly – the bigger gaps will let the air circulate more easily.
A pile the size of mine took me the best part of a day to build – you’ll probably take a bit longer for your first one while you iron out the process.
Tips and Tricks
- Cut and keep some thin strips for batons when you split your logs
- Any log which doesn’t fit nicely in the wall throw into the middle
- Draw out a circle outline before you start
- Pay very close attention to the first few layers until the process has gone in
- No bulges or overhangs!
- Seriously, no bulges or overhangs!
- Keep the upward angle of batons consistent for maximum visual impact
- Keep those logs leaning in
Finishing up
After a collapse of the wall one year because of a bulge, the next year I wrapped the pile in chicken wire once I had finished it. Probably overkill but I wanted to play safe. Turns out it wasn’t needed as I had built with more of an inward slope just like this years pile. Wood moves as it dries, best to think ahead.
The pile will dry pretty well uncovered but for the last few years I’ve put a roof on top of mine that I built from old fencing panels. My neighbour uses a tarp on his, another friend has cut shingles from some sweet chestnut logs.
I hope this post helps you build a great round woodpile, and questions please use the comment section below!
