I saw a post on Reddit recently by someone who had been experimenting with sculpting blocks of plywood sheets stuck together. The results look pretty neat so I thought I would have a go myself.
There’s not really too much info on this technique online so this will be totally trial and error!
Step One – build the plywood block
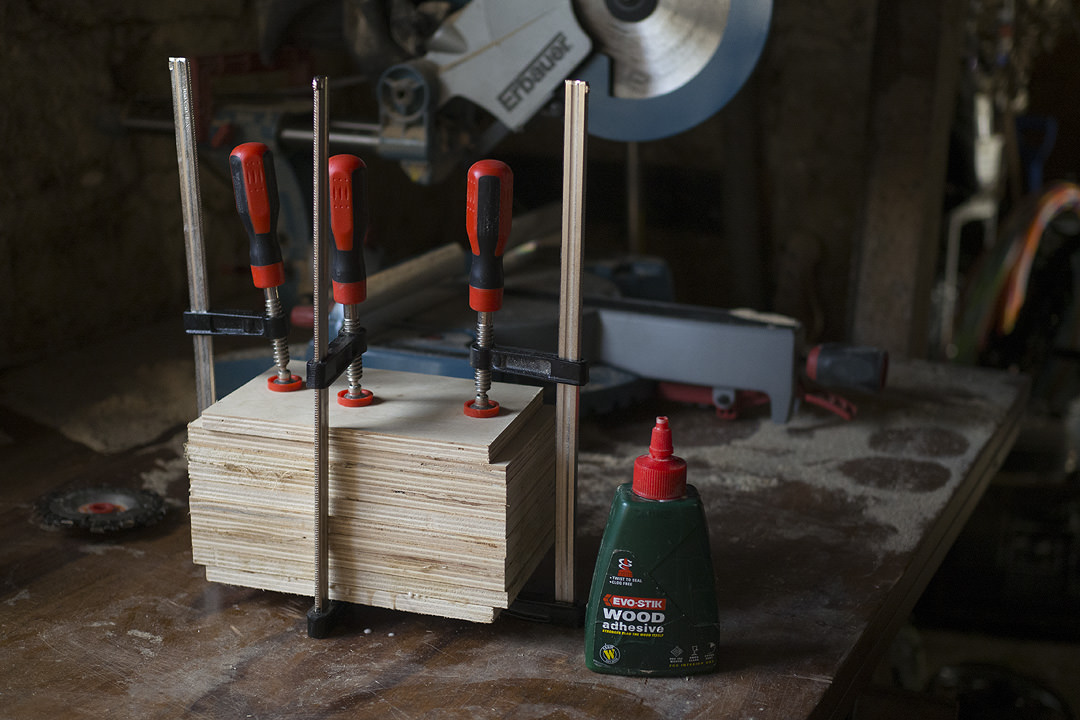
I cut some scrap plywood to size, quite small as this was my first experiment. I made a squarish rectangular block as I’ll be cutting the round shape of the egg from it, and eggs are always longer than they are wide.
Glued the bottom sheet on one side using a credit card to distribute the glue evenly and then placed the next sheet on top. Repeat until the stack is all glued up. I clamped the stack and left it to dry for 48 hours.
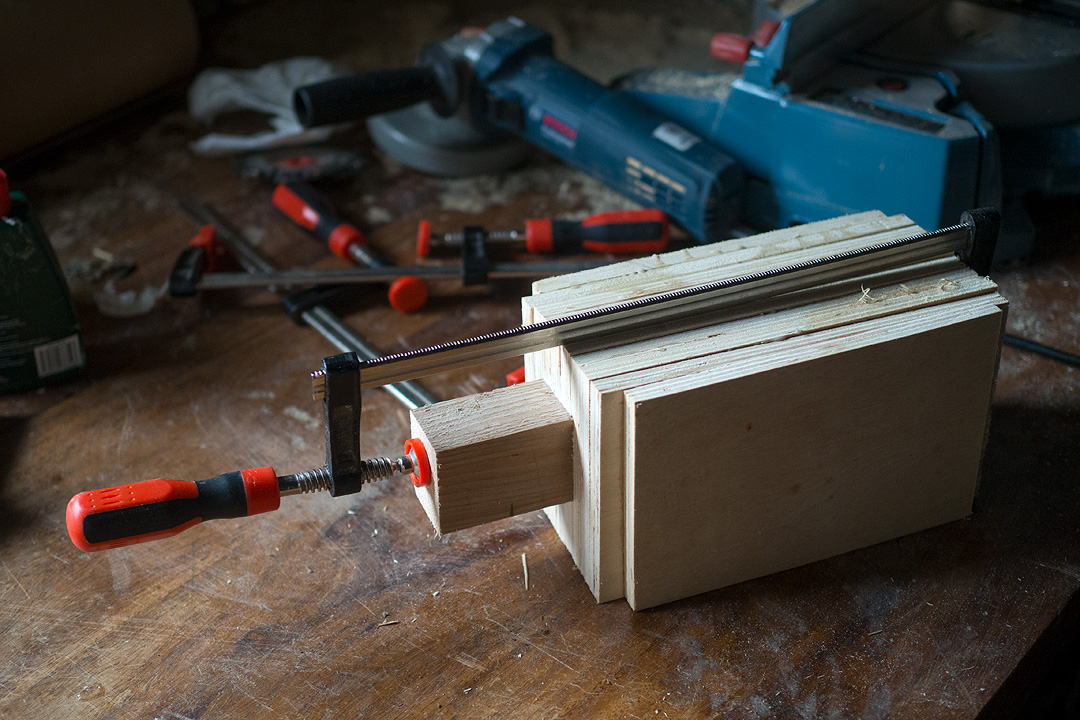
I decide to glue another lump on the bottom so that I could hold the piece in a vice as I worked on it. The egg will have a flat bottom so I can cut the lump off later.
Step 2 – Carving a rough shape
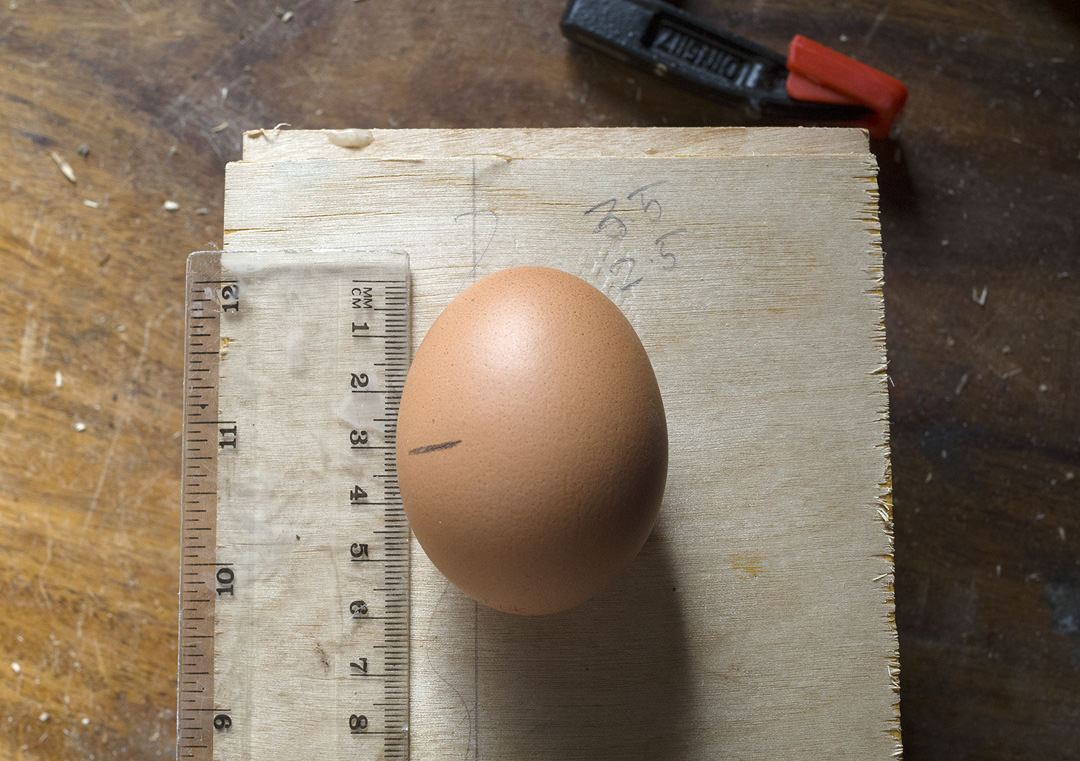
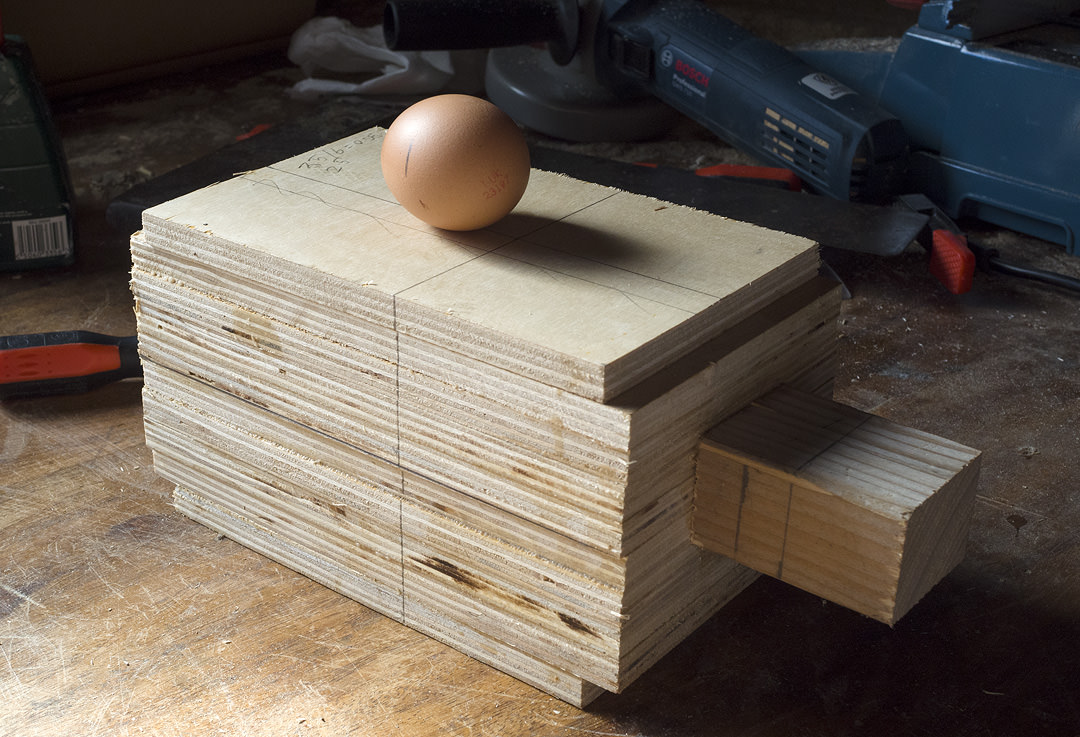
I measured an egg to get the correct proportions and marked up the block with a line separating the top and bottom. Also a vertical centre line on each face.
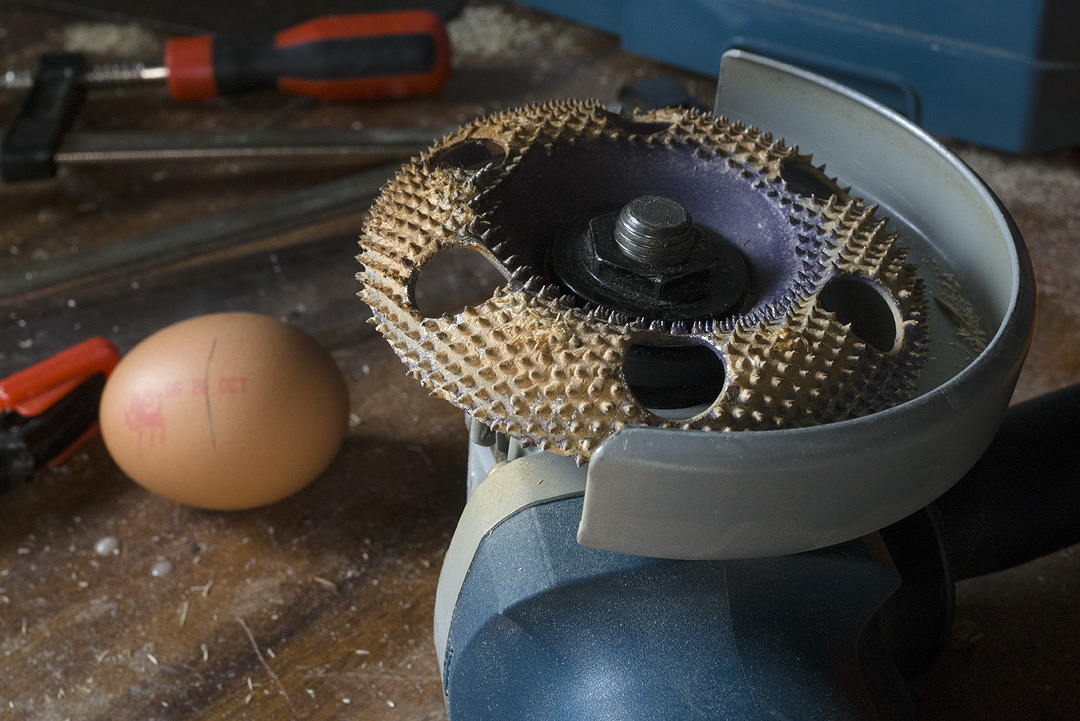
To start the carving I used a Holey Galahad – a toothed tungsten carbide disc that mounts on an angle grinder. These things chew through wood so a steady hand is needed!
They are made by King Arthur’s Tools in the US, if you want to buy one in the UK the best place I found was at Classic Hand Tools. They are much more expensive on Amazon.
I went outside to start the carving – this generates a lot of sawdust so make sure you’re using a face mask and eye protection. My photo battery ran out before the end but you get the idea…
When I’m making anything round I’ve found the easiest method is to first knock off the corners. Then take off the new corners that creates and keep going in that way. Trying to carve a round shape in one go is very difficult.
Stop frequently and eyeball the shape as it emerges from the block and use your hands to feel how it is going.
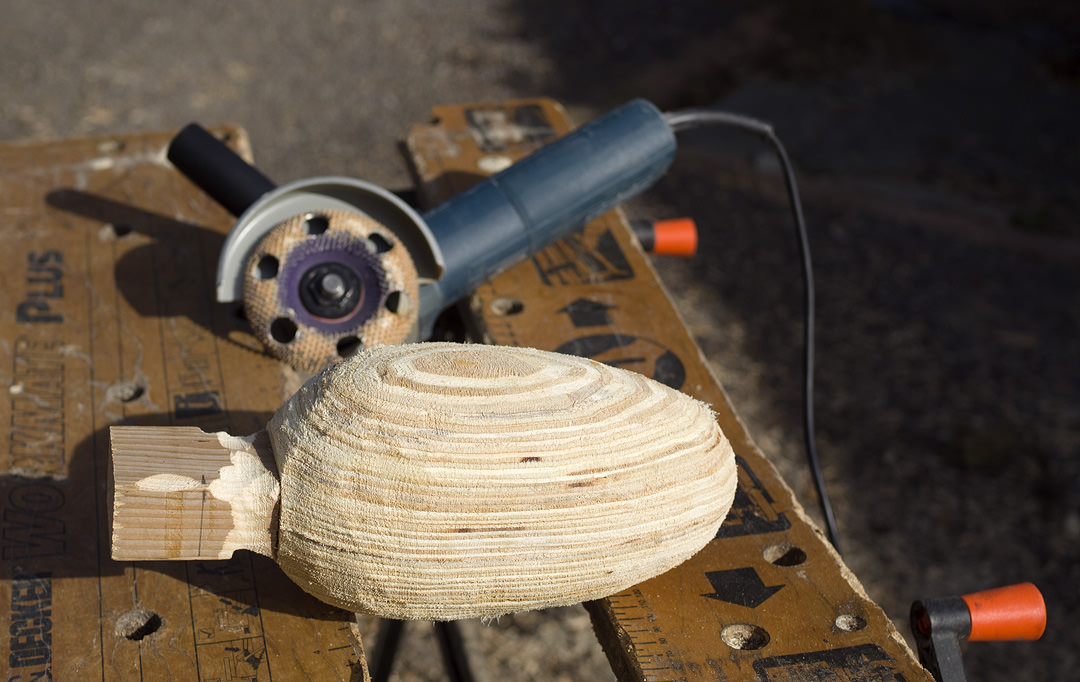
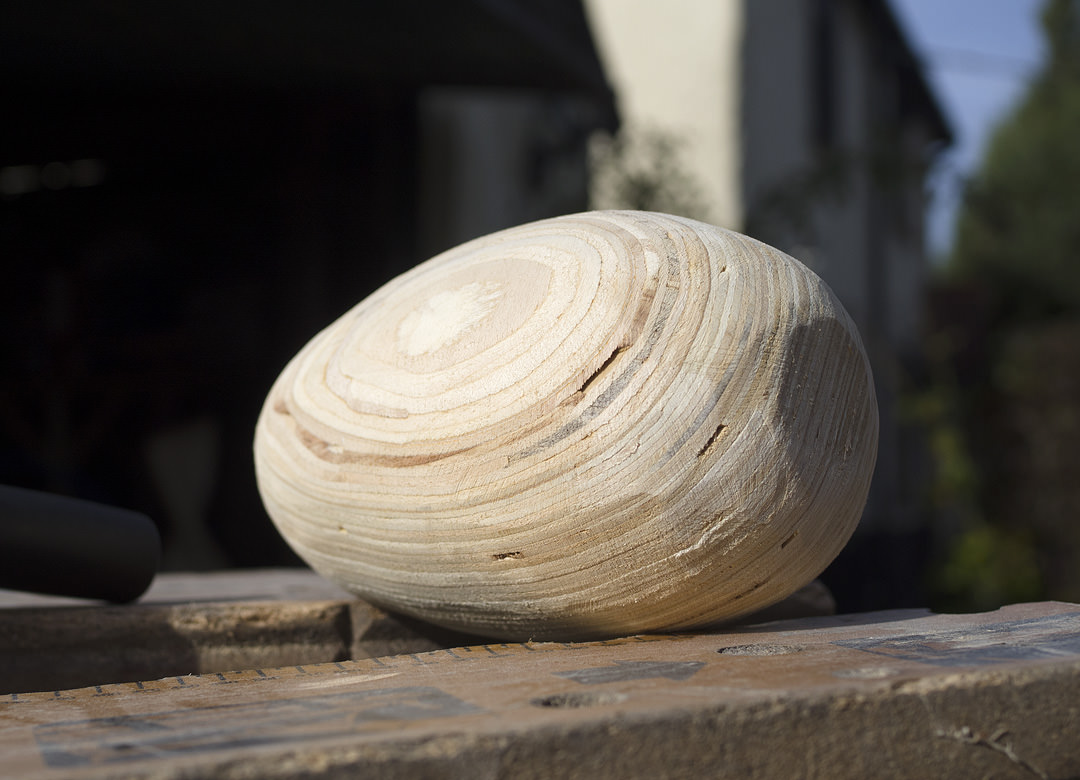
After about 45 minutes of carving I ended up with a rough shape I was happy with.
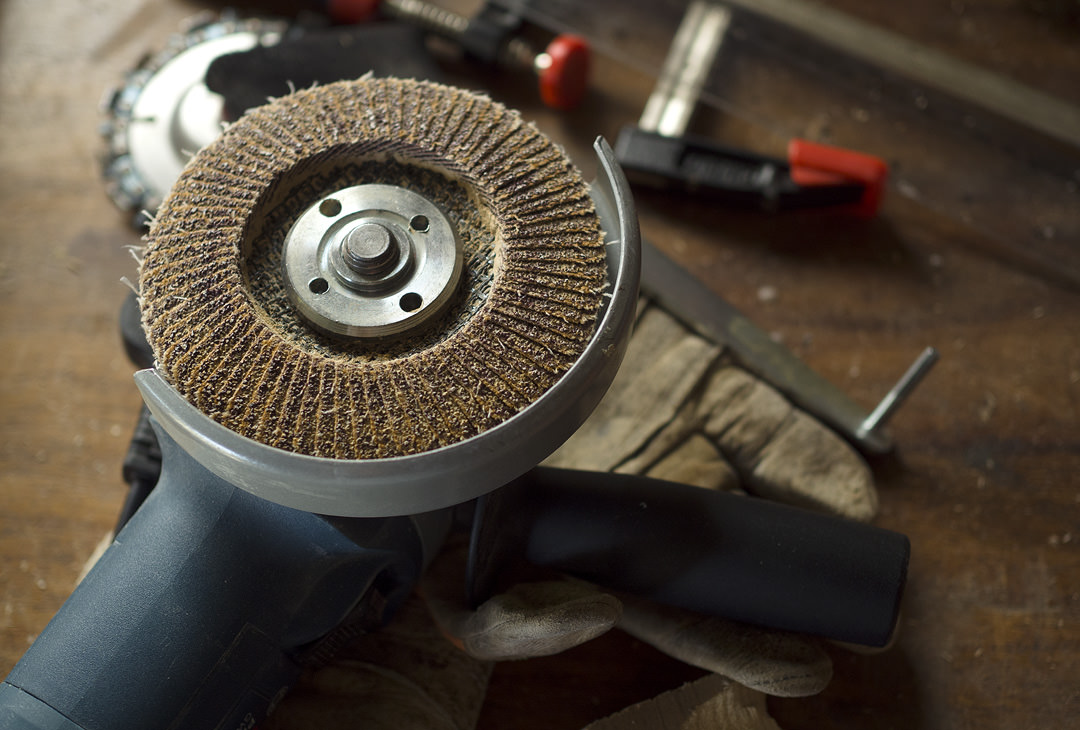
Next up was refining the shape, I used a 40 grit flap disc on the angle grinder for this. The flap disc isn’t quite as aggressive as the Holey Galahad but you can still remove a lot of wood with it.
The rings emergin from the plywood were a good guide to lumps and bumps I needed to sand out.
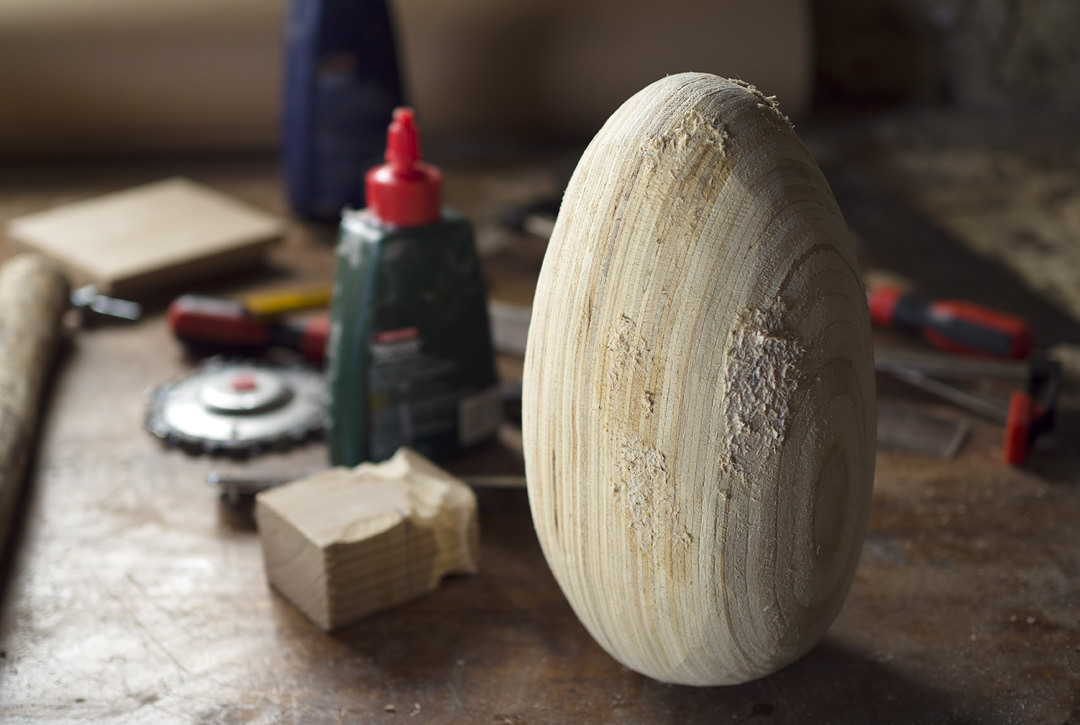
Flap disc sanding done and I’ve discovered several voids in the plywood that I’ll need to fill before the final sanding starts
I mixed up some sawdust and wood glue and smeared it into the gaps with my fingers. I actually had to do this twice as the sawdust I first tried wasn’t fine enough.
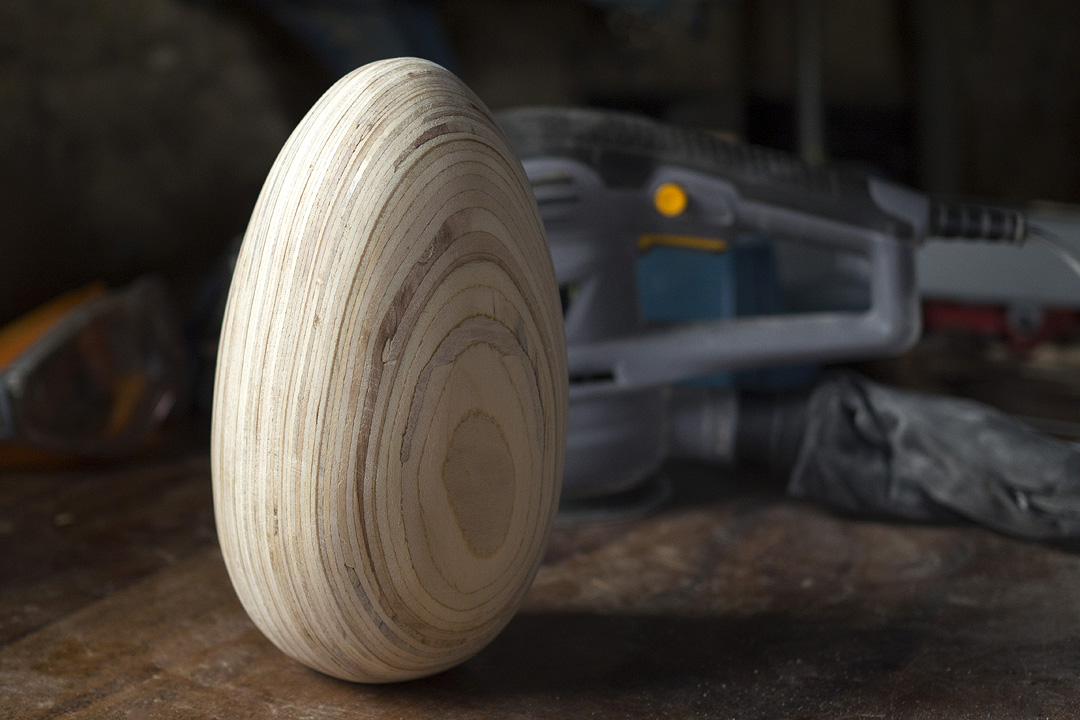
Once the glue dried I used an orbital sander with progressively finer paper to give the egg a final finish. Ending with 240 grit paper by hand.
Top tip: I took care to measure and mark out the proportions of the top and bottom of the egg, but not the overall height/width. So my initial block was a bit long. Which means my egg is a bit elongated. Ah well.
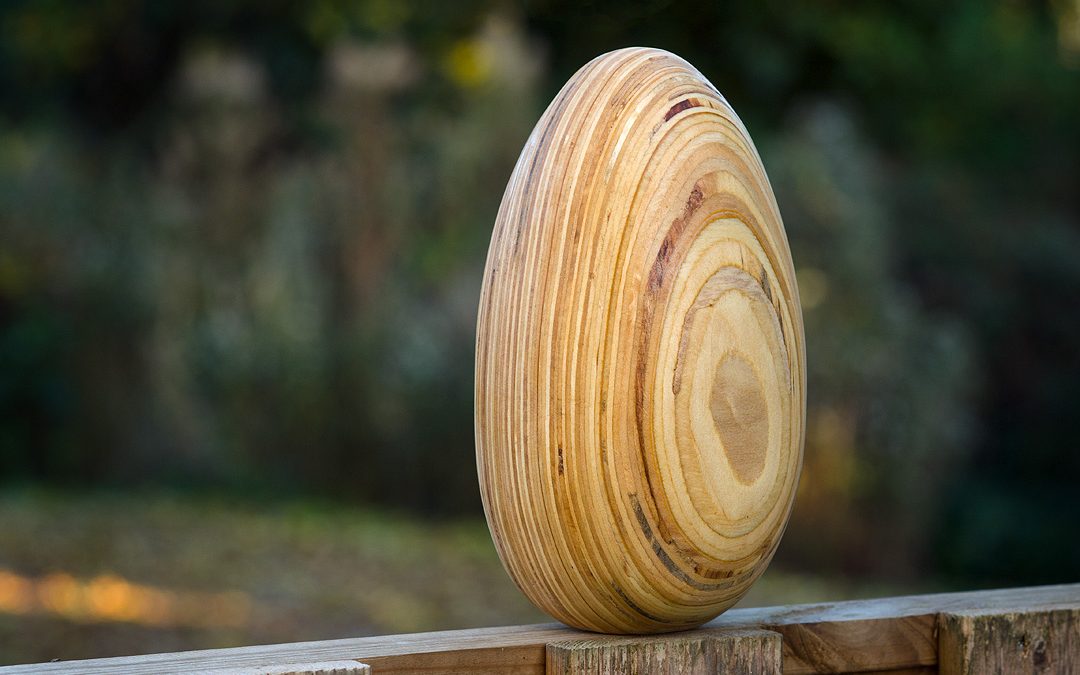
Finally, I applied a couple of coats of Danish Oil, with a light sanding after each coat, here’s the finished result
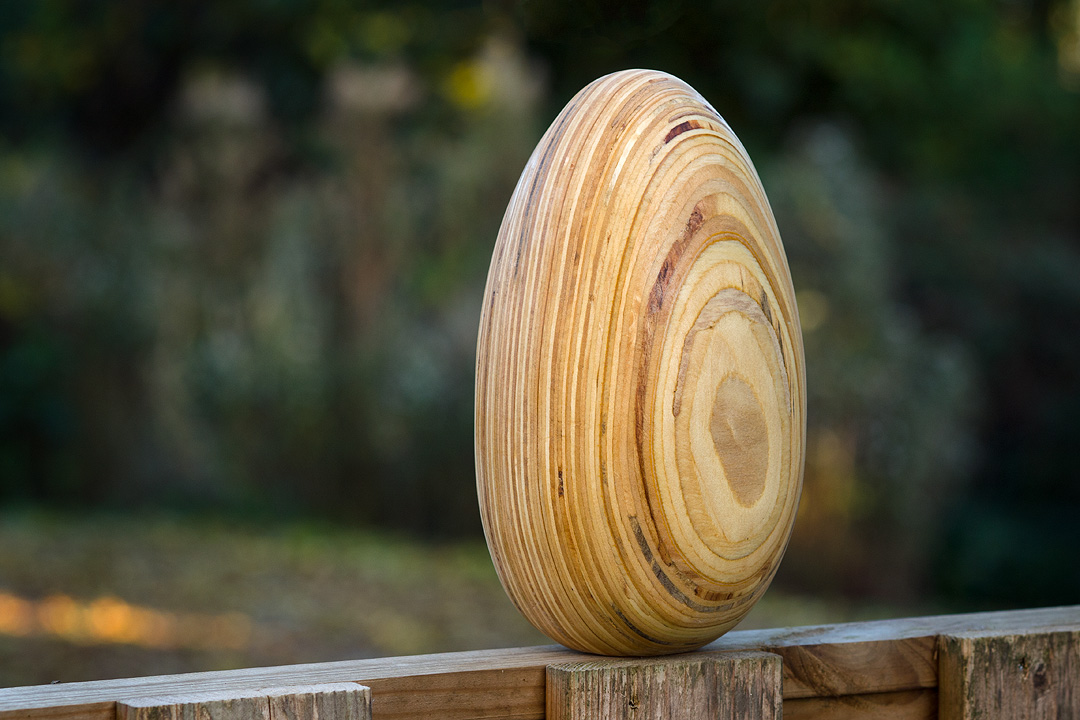
Images by Duncan Kerridge
Original inspiration from North 8th Creations
